After the basic turning techniques on the pole had been covered during the first meeting, it was time for the next essential part of turning. Tools! And because some of the tools we use are not available through regular tool manufacturers, we make them ourselves. And that’s actually fun too.

On the first of these two days, Pieterjan forged two types of turning hooks under the guidance of Martijn, namely a left-handed and a right-handed one, or one that is mostly used tip up and one that is often used tip down. These hooks actually look quite a lot like a spoon knife. However, the blade part is much smaller and the shaft and handle are much longer. In the meantime, Martijn has also been busy forging a special hook and a scraper for making jars with a bayonet closure, the locking lidded box. Some more can be read about these boxes in the blog of the first meeting.
It all starts with the steel. In this case we used 1.2510 tool steel, better known as O1. This is a type of steel that can be used in a simple forge, without special equipment to regulate the temperature exactly. You can get it really hard, while at the same time it can still be sharpened pretty well.
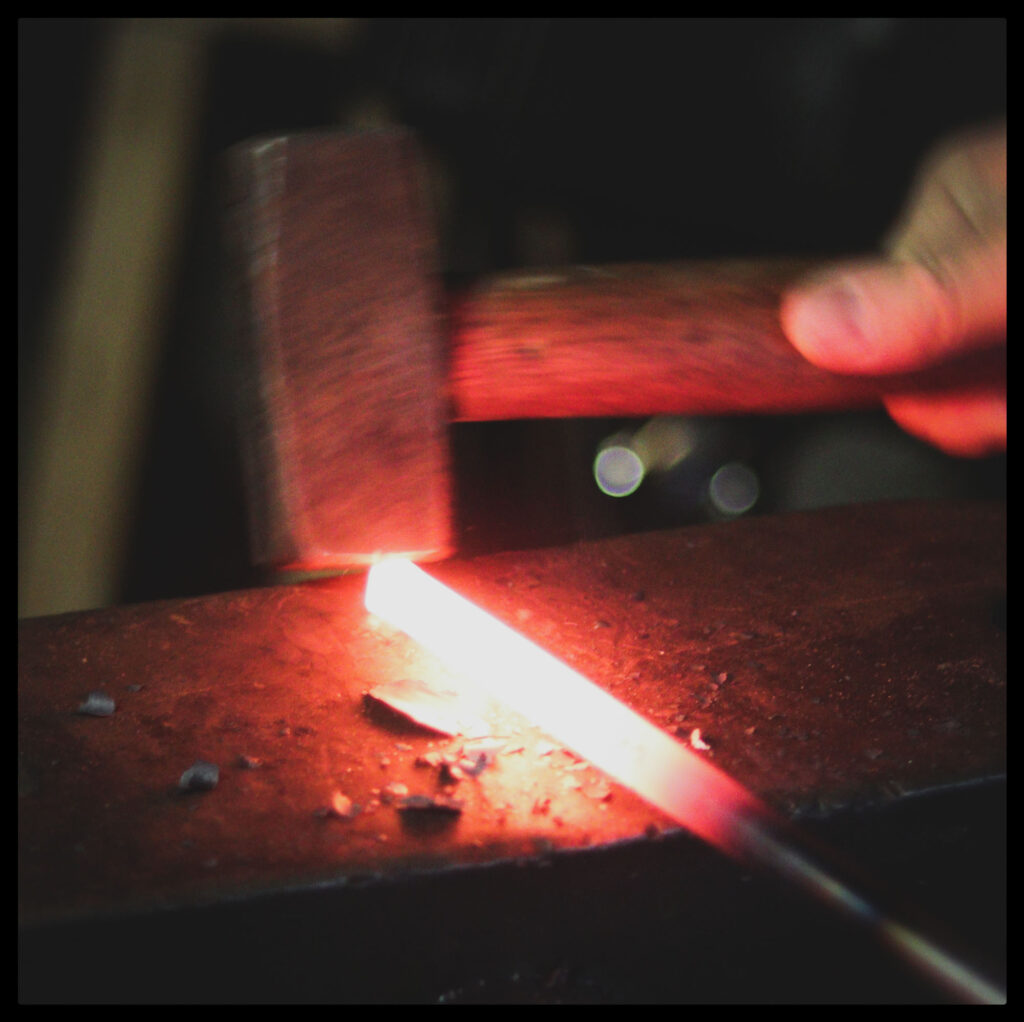
Anyway, then comes the forging. We heated the steel in a gas oven, which is ideal for this type of project, because you do not have to heat a very precise small piece (which is easier to do in coal), and the piece of steel is also not very large (we use 12 mm round steel), a gas oven quickly reaches the desired temperature and, above all, does not produce smoke. Which is very pleasant for your own lungs and your neighbourhood.
The forging itself is basically very simple, just like all crafts. You just hit the steel with a hammer until it has the desired shape. But yes, in practice this is of course not always that easy and it does require some (or a lot!) of practice. Today we could try out Martijn’s new anvil in the process. The anvil itself weighs 75 kg. It rests on a thick oak trunk that weighs even more. That gives you somewhere around 175 kg. That is a considerable improvement compared to the piece of train rails he was using before. And with success, it now takes much less force to get the steel into shape!
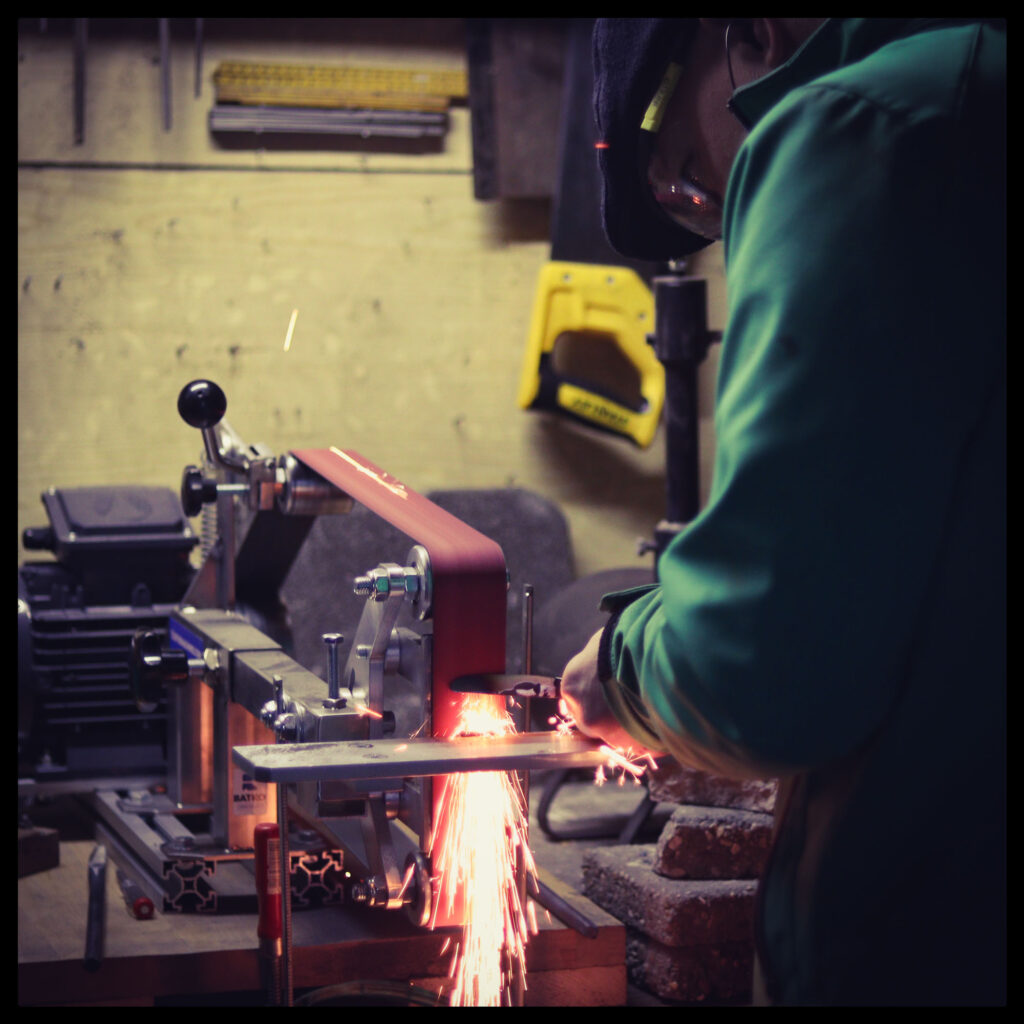
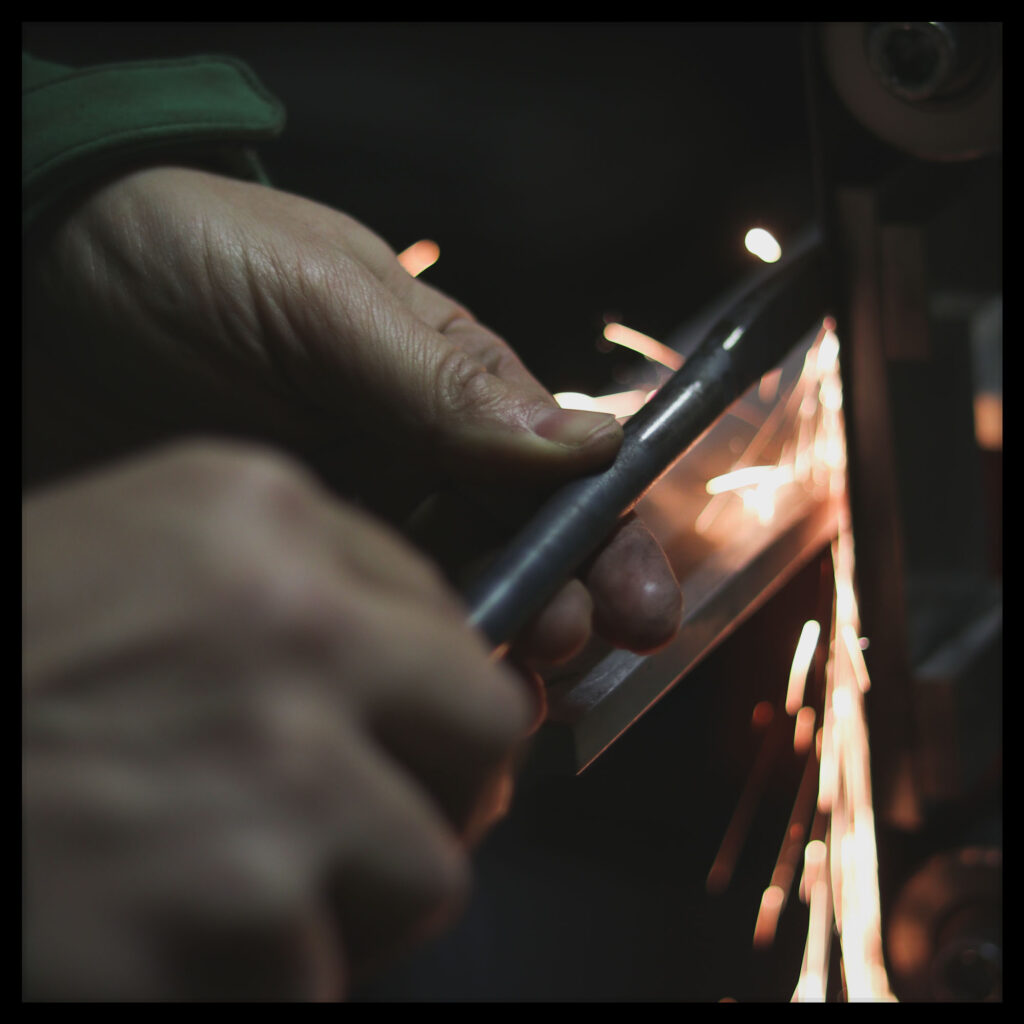
After the steel has been roughly forged, it is further grinded into the desired shape. This may seem a bit lazy, because why not just forge it a bit more neatly? Well, there’s a good reason (besides laziness could also be a good reason). During forging, some of the carbon in the outer layer of the steel disappears. You need this carbon to make the steel hard enough. Otherwise your knife would become dull very quickly. By grinding off that outer layer, the part of the steel with a higher carbon content is at the surface again.
Besides the new anvil, we could use a new tool for this part as well. Previously, grinding was done on a standard belt sander that was intended for sanding wooden boards, but Martijn now has a real belt grinder for metalworking. Once again a very nice upgrade, bought especially for our project.
The hook tool is not yet sharpened all the way, as there is still a small step in the forging process. The hook, or curl, should still be made. However, it is easier to grind a flat part and then bend it. This way you can do the coarse grinding work with the belt grinder. Fortunately, you only have to heat the steel for a very short time to create the curl and you don’t lose that much carbon. The final bit of grinding is done at a later stage, by hand.
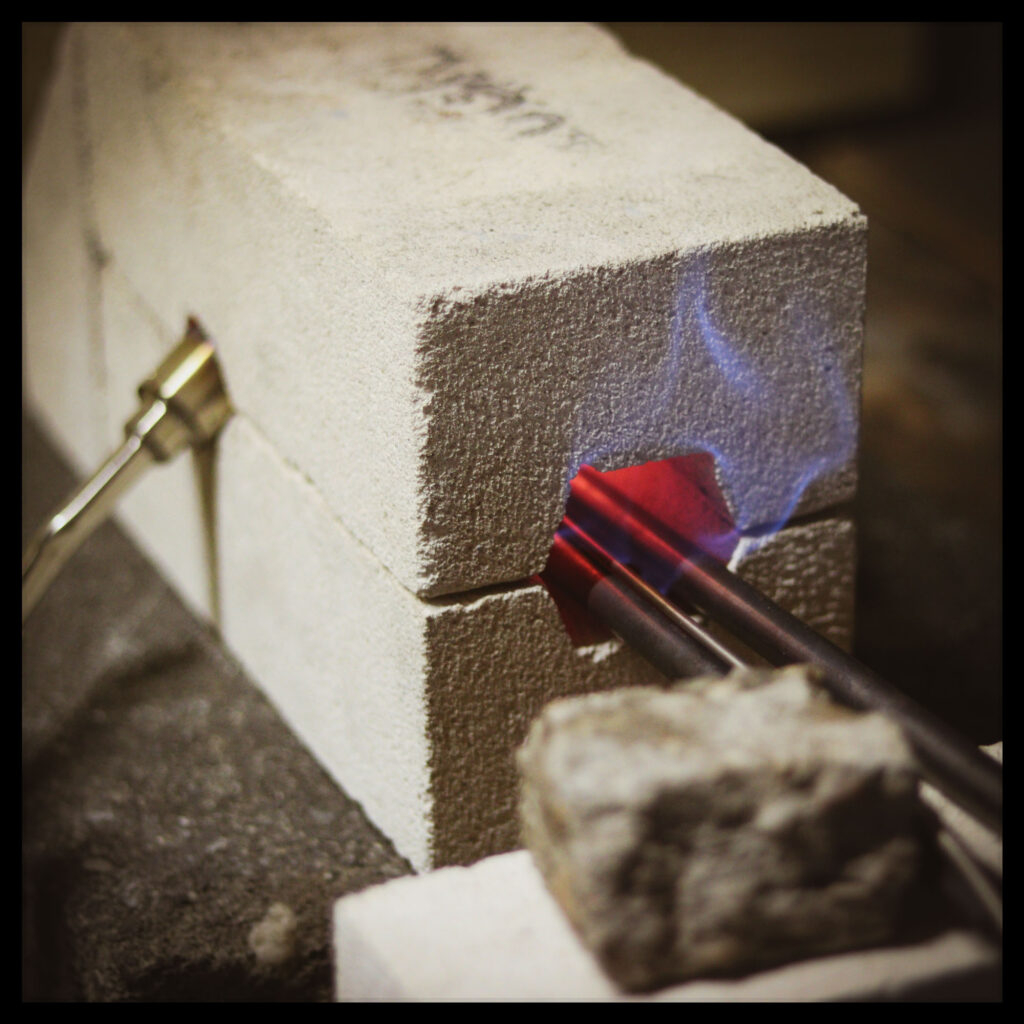
After coarse grinding and creating the curl, the heat treatment follows. This is an important part that might easily be over looked. To ensure that you have a useful tool, you want it to have certain properties. These are partly determined by the type of steel you start with, but certainly also by the heat treatment. First of all, the hooks are heated three times to well over 800 degrees Celsius and are cooled in air in between, the so-called normalisation. This ensures that the crystals in the steel become smaller and the knives are therefore less likely to break. Then follows hardening. The hooks are heated to 800 degrees (a few degrees more or less is fine, but as close to 800 as possible). After keeping them at that temperature for a few minutes, they are quickly cooled in oil. This hardens the steel and keeps it sharp for a long time. There is then one more step in the heat treatment and that is tempering. The hooks tools are placed in the oven at about 180-190 degrees Celsius and they are kept at that temperature for an hour. This removes stresses from the steel that have arisen during hardening, and this makes the hooks less vulnerable.
On the second day the hooks were further finished. This firstly means that they have been properly sharpened. This time by hand. We use a chainsaw file for the coarse work, and then a series of diamond files for increasingly finer grinding. After the hooks are nice and sharp, they get another layer of oil to keep them from rusting.
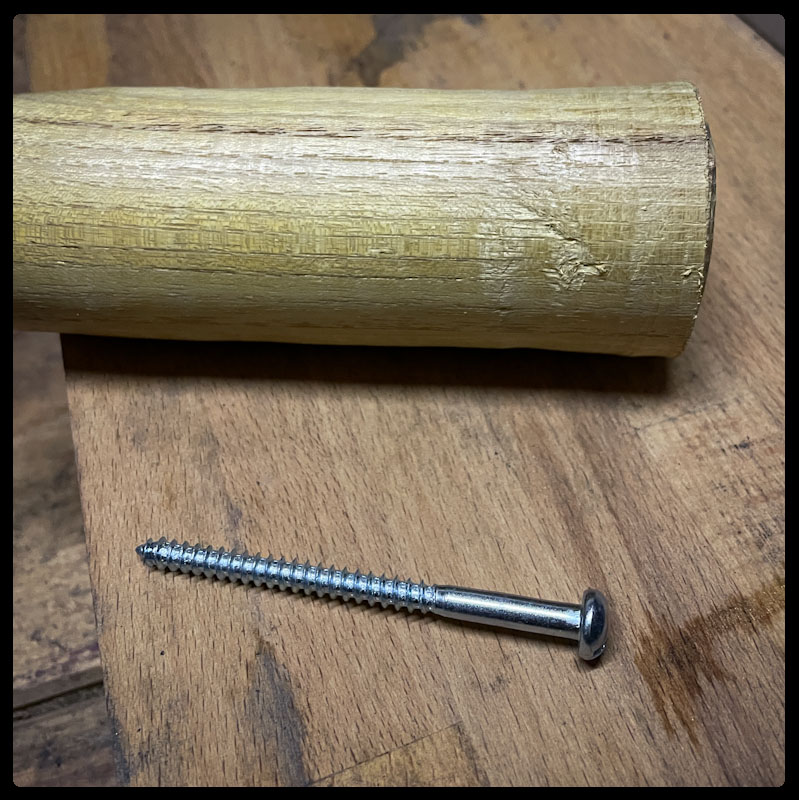
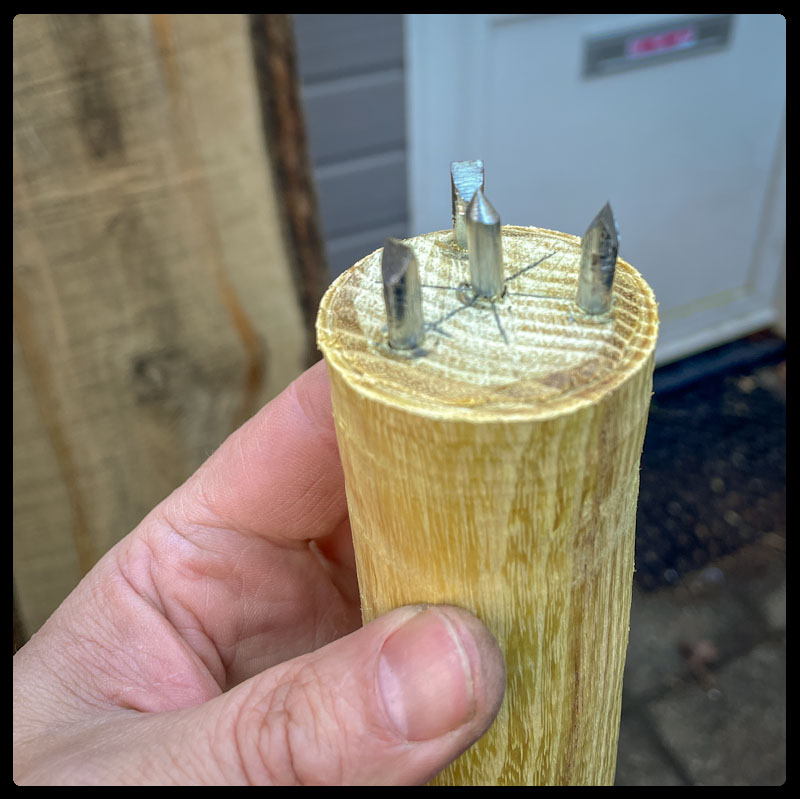
But before the hooks were tested, we first made a another mandrel. At the first meeting, Pieterjan had made a completely wooden mandrel. This time we made one with steel pins. We made this by first turning a wooden spindle and then pre-drilling 4 holes in it. Then 4 screws were placed in the four holes. Those screws had no thread in the upper part and we also ground off the heads. The middle screw has now been ground completely to a point, while the other three have been ground to a flat surface. The one in the middle is also a bit longer than the other ones, so you it’s easier to position the mandrel in the center of the piece of wood. To attach the mandrel, around which the lathe cord is placed, to your piece of wood, you do not have to drill a hole first, but simply hammer it in.
And then in the afternoon of the second day of this forging meeting the actual testing of the turning hooks followed. After we put a handle on the hooks, we could get started. Such a handle is actually quite simple. You can make them from a branch, such as a fairly straight piece of hazel, or from a split piece of wood, which you round slightly. But preferably not too round, but rather something octagonal. This provides good grip. At one end you drill a hole of 12 mm in diameter (or at least with the same diameter as the steel) and about 7 to 8 cm deep. You then simply tap your new hook tool into the handle.
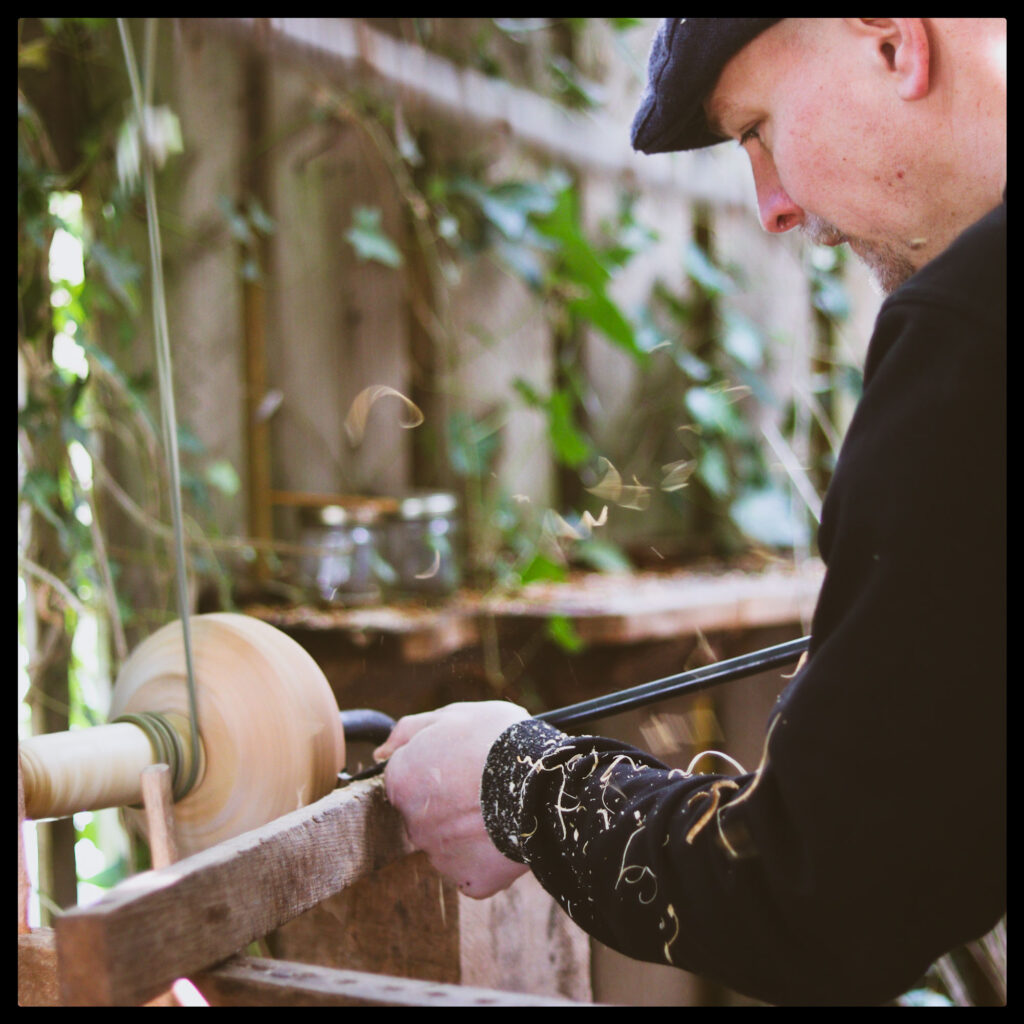
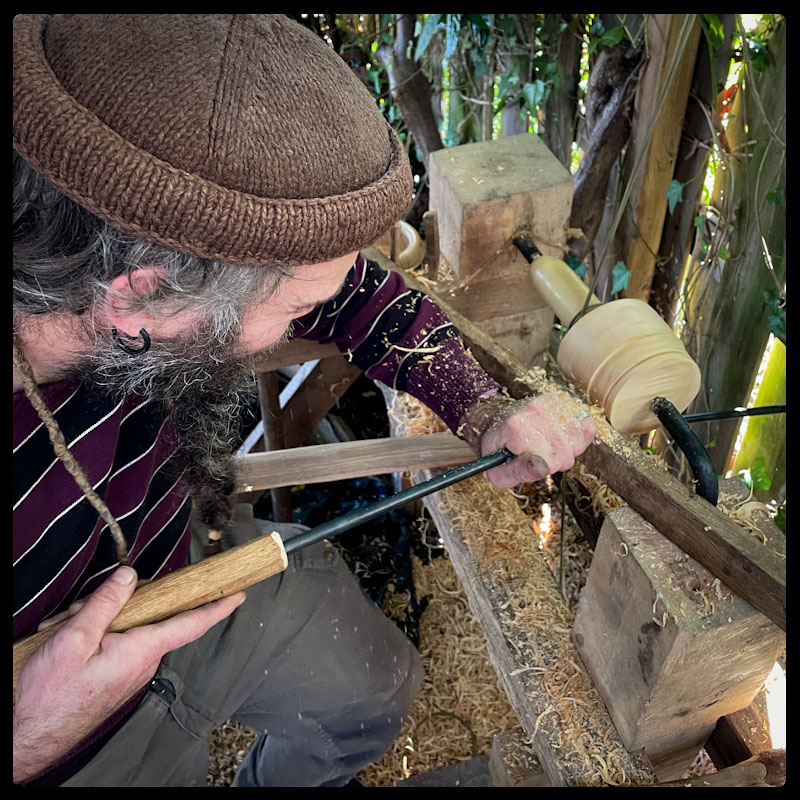
Pieterjan has tested his new set of hooks by turning a bowl and Martijn has eased off and scraped some grooves in a big spindle to test his new scraper. All tools passed the test!
